Assembling Your Scuba Gear
Assembling your scuba gear requires special attention and care to prevent equipment problems during the dive. As a new diver it may seem like a complicated task, but with practice it will become as routine as any other skill.
The basic procedure for assembling your gear is:
- Attach the cylinder to the BCD.
- Attach the regulator to the cylinder valve.
- Open the cylinder valve.
- Test the scuba unit.
The sections that follow explain each step in detail.
Attaching Your Tank to the BCD
- If the cylinder is equipped with a yoke valve, inspect the valve's o-ring for signs of wear or cracks. Replace the o-ring if it's defective or missing.
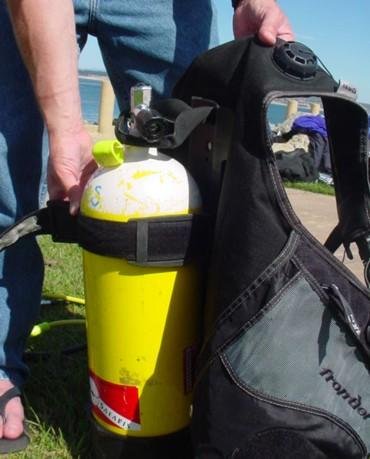
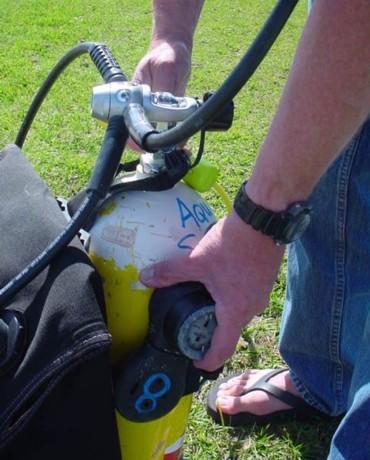
- Stand the cylinder in an upright position with the valve knob positioned to your right side.
- The tank strap will stretch when wet, so soak the strap in water to prevent it from loosening during the dive.
- Lower the BCD's tank strap over the cylinder, and rotate the cylinder until the valve knob points to the BCD's right side.
- Make sure the strap is correctly woven through the buckle, and close the buckle. Tighten the strap if it's loose.
- Pick up the BCD by its handle or shoulder straps and make sure the cylinder is securely fastened and does not slip.
Attaching The Regulator
The following procedures are for attaching a yoke style regulator to a "J" or "K" cylinder valve.
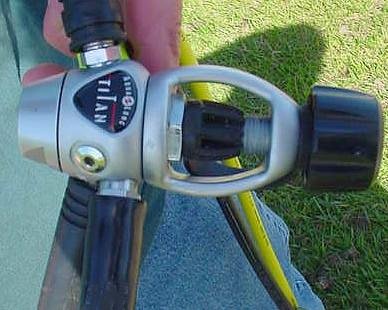
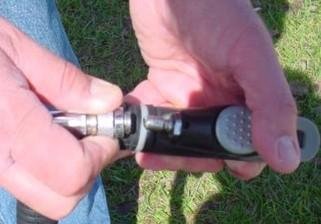
- Remove the dust cap by loosening the yoke screw.
- Place the 1st stage over the cylinder valve. The 1st stage's filter should be positioned against the valve's o-ring, and the 2nd stage hoses should be on the same side as the valve knob.
- Tighten the yoke screw against the valve. The screw should only be tightened finger-tight. Don't worry if the 1st stage rotates on the valve. It will tighten up when the air is opened.
- Attach the low-pressure hose to the power inflator's air inlet.
If you have a DIN valve, the procedure is similar, with the exception that the 1st stage is screwed into the cylinder valve.
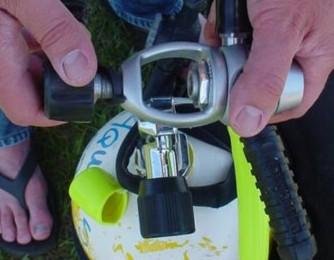
Opening the Cylinder
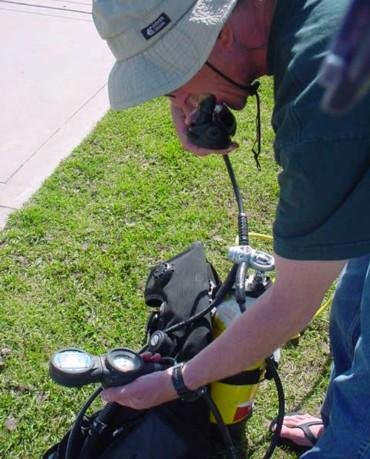
- Hold the submersible pressure gauge so that the face points towards the ground. An air leak inside the gauge could cause the gauge's cover to pop off, and holding the gauge face-down minimizes the risk of injury in the event this occurs.
- Slowly turn the valve knob counter-clockwise to open the valve. Continue to open the valve until it's completely open.
Testing the Scuba Unit
- Make sure the valve knob is opened.
- Listen carefully for air leaks near the valve or 1st stage. A hissing sound usually indicates a worn or cracked valve o-ring, which should be replaced before diving.
- Check the submersible pressure gauge to ensure the cylinder is full.
- While looking at the submersible pressure gauge, breathe from your 2nd stage and octopus. If the gauge's needle shifts, the valve is closed or there is an air restriction.
- Check the air for oily taste or odor. If you suspect the air is contaminated, do not use the cylinder. Return it to the shop that filled the cylinder so they can test their compressor.
- Test the power inflator to make sure it inflates and deflates.
- Over-inflate the BCD to ensure the over-pressure relief valves vent the excess pressure
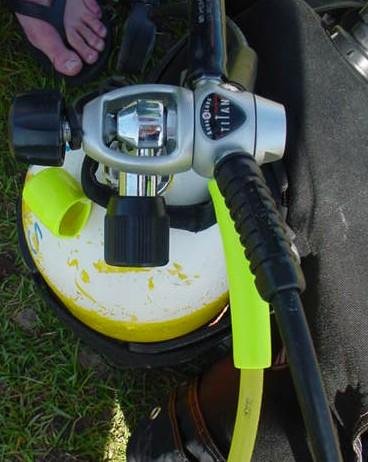
Stowing the Scuba Unit
The scuba unit should be secured or stored to prevent damage to the gear or injury to a diver.
Most dive boats have devices that secure the cylinder in an upright position. The boat's divemaster will show you the proper way to use their system.
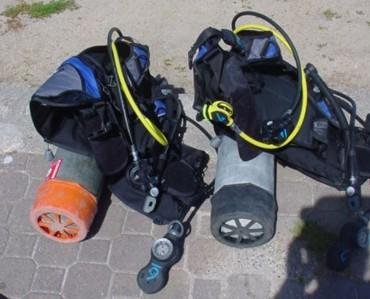
If a securing device is not available, lay the unit down with the cylinder at the bottom of the unit. Make sure the 2nd stages are placed on top of the BCD to prevent damage from the cylinder or a passing diver.
Special care must be taken when placing a scuba unit on a beach because sand can cause your regulator or power inflator to malfunction. A towel or tarp underneath your equipment is very useful for this purpose.
Disassembling Your Scuba Unit
You disassemble the scuba unit in the opposite order the gear was assembled. However, a couple steps are added to the process.
- Turn the valve knob clockwise until it's completely closed.
- Press the 2nd stage's purge button to release all the air pressure from the hoses.
- Remove the low-pressure hose from the power inflator.
- Remove the 1st stage from the cylinder valve.
- Dry the dust cap with a towel, and tighten the dust cap in the 1st stage.
- Remove the cylinder from the BCD.